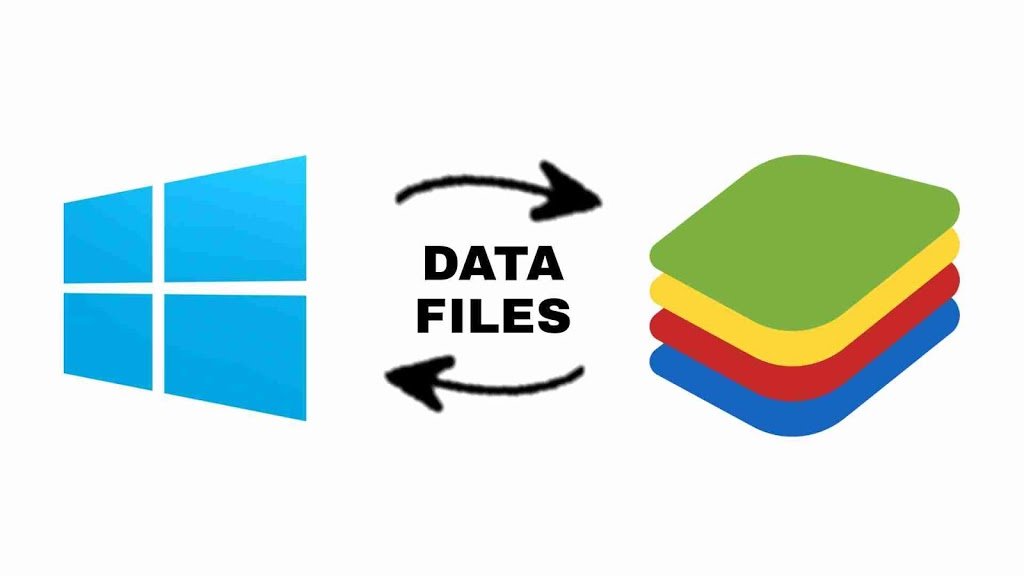
Importing and exporting files or media between BlueStacks and Windows is quite easy and you don’t have to follow any long steps for this task.
Table of Contents
What you can import or export between BlueStacks and Windows ?
You can import or export any type of file between the windows and BlueStacks. You can move or transfer media files like photoes or videos, move or transfer files or folder or any type of other files format like zip, document, PDFs anything.
How to transfer or move files from Windows to BlueStacks ?
1) Open BlueStacks
2) Now go to Home section, then my games
 3) Click on system apps
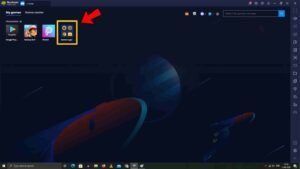 4) Now go to media browser
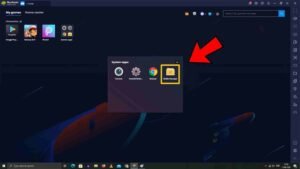
5) Now there you see a option of ” import from windows and export to Windows “.>
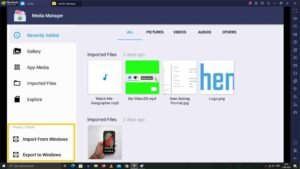
6) Click on import from Windows to import files inside the BlueStacks from windows or any drives like pendrive or other storage devices.
7) Now navigate to the folder or file you wants to import in BlueStacks.
8) That’s it the file that you wants to import in BlueStacks Haas been imported successfully and now you can see the file in media browser of the BlueStacks and also you can use the imported files from windows anywhere in BlueStacks.
How to export files or folders from BlueStacks to windows ? How to move or transfer files from BlueStacks to Windows?
Exporting is also easier follow the below steps :
1) Go to Home in BlueStacks, then go to my games

2) Click on system apps folder

3) Now go to file manager
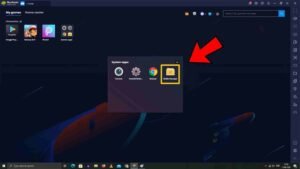
4) Now there you see a option ” Export to windows ” under the option import from windows which is used to import files from windows in BlueStacks.
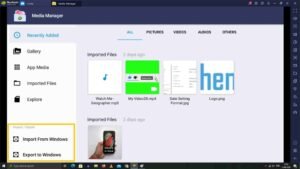
5) Click on export to windows option.
6) Now select the files that you wants to export to windows from your BlueStacks. Like media files or any other file or folder.
7) Now choose a destination folder in windows where you want to export the file or folder.
8) That’s is your file or folder is successfully exported or moved to your windows library.


